Surprisingly, installing toe kick on cabinets isn't as unproblematic equally some would wait. Due to variations in material, methods to attach and surprises like un-fifty-fifty floors and cabinet faces a few tricks and hacks are ofttimes needed.
In this guide learn:
Tools required to install to kick
Methods for installing various styles of toe kick
What slice to start with
How to adjust the toe kick for uneven floors
And lastly, how to hide the smash holes (hint: Color Putty)
Tools Needed to Install Toe Kick
Chances are you'll have all the tools needed for this stride if y'all've installed the cabinets. Simply if yous haven't started, make sure to have the following on hand:
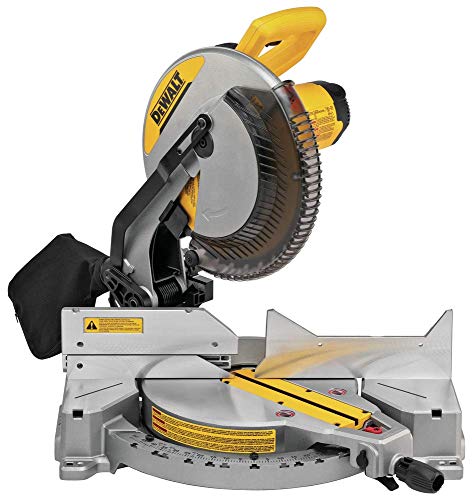
Basic miter saw
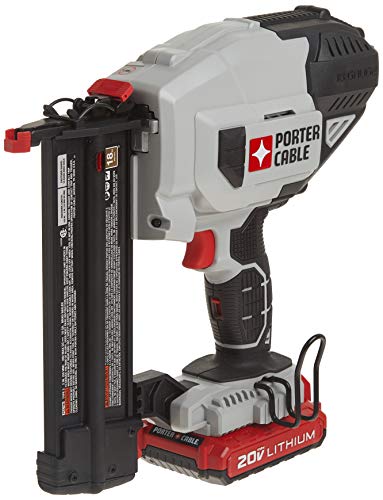
Smash gun
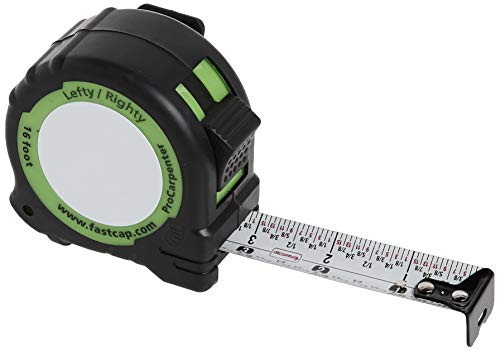
Tape measure
Belt sander
Structure adhesive
Steps to Installing Toe Kick
Step 1: Installing toe kick longest piece first
If you've installed trim before y'all know 1 trick is to always install the longest slice offset.
And this same rule applies to installing toe boot.
What's so special about doing this? Well, past following this approach you tin can make mistakes with cutting longer strips and then use them for shorter pieces of toe kick.
Finally, be sure to consider that the longest toe boot might be designed to fit behind a base chiffonier and extend to the wall (hidden).
Tip: I office of the puzzle tin can exist keeping the pieces all in order. I like to layout the strips on the top of the base cabinet then I know where they'll go.
Stride 2: Cut the toe kick to length
After y'all've set the toe kick in the right spots and are ready to showtime assembling it's time to start cutting.
A few tips on cutting toe boot:
Cut once, measure out twice and attempt fitting the toe kick afterward each cut. Yous've made information technology this far on your cabinet installation, don't ruin it now.
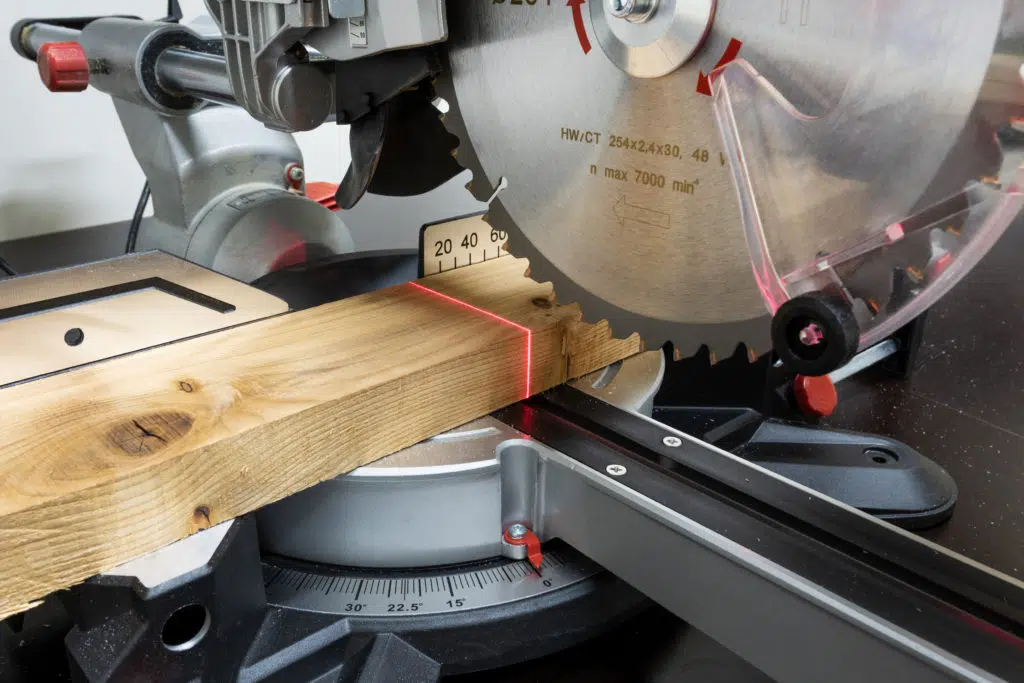
Use a sharp blade: The dorsum of some toe kicking ends will be seen after installation. Information technology's important to not "blow out" the toe kick back and create a splintered mess. I use the five-star rated Makita fourscore-molar crosscut blade on my miter saw.
Avoid 45-caste cuts on inside corners. It'south much easier to install at a 90-degree bending.
Cut the toe kick laying apartment on the miter saw with the finished side up.
Cutting slowly to avert splintering the back of the toe kick – but not slow enough you burn the ends
Lastly use a woods sander to buff the cut end for later finishing/bear on-upwardly if it will be visible.
In this pace you lot'll find that before installing toe kicks they volition likely need to be cut to length. Because every kitchen is designed differently the toe kicks rarely come pre-cut.
Step 3: Rough fit the kick
Earlier cease installing the toe kick information technology I similar to cut and fit all adjacent toe kicks. Because of variations in the floor or other gotchas this prevents having to rip out the toe boot later.
Commencement in a corner with the longest slice
Use a chugalug sander to adjust width or adjust joints
Piece of work from the corner out one piece
Oh, and make sure you lot triple check the cabinets are perfectly level. Because once the toe kick is installed you wont exist able to adapt the bases equally easy. If you haven't started your installation yet, cheque out the guide to cabinet installation tools for levels and lasers.
Sometimes toe boot will need a trivial sanding to conform to the floor and a belt sander is one of the best tools to speedily remove wood to assist with the fit.
Step 4: Installing the kick to the cabinet
Just two more than steps to finish installing toe kick nether your almost completed kitchen.
The quickest way to install toe kick is with a few well concealed nails at the base and so again at the very top of the toe boot. Why there? Well, if y'all hold the nail gun level and install brads at the very top you won't exist able to see the nails. And again, at the very bottom you'll usually install base shoe every bit well and so the blast will again be hidden (later).
Lastly, just be careful to non bending the blast up into the cabinet and poke a hole in the base of your new cabinets.
Stride 5: Hide nail holes with Colour Putty
Installing cabinets requires hiding your pocket-size imperfections and boom holes.
And that's why every chiffonier installation I've done uses Color Putty at the very end to hibernate any imperfections.
Since color putty just rubs in with a finger and wipes off with a paper towel it's easy to employ. And with color options from white to nighttime browns or even black there are products y'all can utilise to hide the nail holes in the toe boot. Of course, these will all piece of work well for hiding crown molding nails and any other trim y'all'll be tackling.
And Color Putty tin be purchased in kits or individually based on your project (or comfort knowing you have the right color). I'd recommend the kit or at least three-four jars to allow you to custom mix the putty (yeah you lot can practice that!) and adapt to grain or forest tone changes.
Ofttimes Asked Questions for Installing Toe Kick
How exercise yous attach toe kick?
Toe kick is attached with a nail gun or adhesive afterwards the cabinets are installed.
What is the purpose of toe kick?
Toe kicking allows for foot space under the cabinet to allow the user to stand directly in front of the cabinet. Without toe boot the user would need to curve forward.
How do you lot finish a toe kick on a cabinet?
Ideally the toe boot will exist completed prior to the installation, only if the toe kick needs to be finished while on the cabinet a fast drying stain and urethane can be used.
Summary
Hopefully this article was helpful to complete your toe kick installation.
Be sure to bank check out our cabinet installation serial for more than tips to cease your installation.


0 Response to "How To Install A Toe Kick On Kitchen Cabinets"
Post a Comment